Orlando Garage Door Services
1(407) 788-1229
Volusia Garage Door Services
1(386) 236-9100
1(407) 788-1229
1(386) 236-9100
Welcome to our step-by-step guide for installing or switching out garage door opener rails. Is your overhead door rattling like it’s auditioning for a rock band? Or maybe you’re looking for a smoother ride every time it opens? No worries—Emerald Garage Door Services has your back. We’ll walk you through everything you need to know for a door that slides like new. Before that, though, let’s chat about why the rails matter.
Top-notch garage door opener rails are the backbone of a trouble-free garage setup. A lot of folks think cutting corners on the rails is okay and choose budget parts. At first, that seems smart, but before long they’re lining up costly repairs. In this post, we’re breaking down why investing in sturdy rails matters, we’re walking you step-by-step through the install or replacement process, and we’re sharing easy hacks to speed the job up.

When you need a pro for garage door opener rails, pick a name you trust. At Emerald Garage Door Services, we’re a family-run business right here in Orlando, Florida. Since day one, Owner James Balfe built the company on honesty and high standards. That’s why we carefully screen every technician before they join the team.
We’re fully licensed, insured, and bonded for your peace of mind. Plus, we back every part and every hour of labor with a solid guarantee. The only thing more important than a job well done is your complete satisfaction. Ready to give your garage a lift? Call us at (407) 788-1229 to set up your appointment today!
Installing your garage-door-opener rails doesn’t need to drag on for hours. These easy tips will help you do a fast, trouble-free job and keep everything running smoothly afterward.
Always start by checking your garage door springs. If you find any that look worn or broken, change them right away. Doing this now prevents safety hazards and avoids needing bigger repairs later.
Doors that rattle or open slowly often have simple fixes. Tighten any loose nuts, bolts, or screws. Also, look at the torsion spring to make sure it’s moving smoothly. Fine-tuning this now saves headaches during the opener install.
Lay a level on your garage door to see if it’s balanced. If the door stays level at any halfway point, it’s balanced. If it droops or lifts, reinstall the springs until it holds steady. Balanced doors place less stress on the opener and will keep it running for years.
Not every opener works for every door. Consider the door’s size, weight, and your preference for noise level when choosing an opener. A good match will do less struggling, last longer, and sound quieter.
Mount the opener on a solid, level beam for smooth operation. Too far off to one side or on a weak spot means rail trouble later. Follow the manufacturer’s instructions on height and clearance to keep the rails moving freely.
After attaching the opener, adjust the opening and closing force. This simple setting keeps the door moving at the right speed and force without overworking the motor. Use the guide on your opener’s panel or manual. A small turn now keeps the operation balanced and trouble-free for years.
Pick bulbs that fit your opener and shine brightly enough. Energy-efficient LEDs or CFLs are best because they use less power and last for years. Stay away from high-wattage bulbs; they can overheat and damage your opener.
When your garage door keeps reversing, it’s more than annoying—it’s a safety risk. Check the user manual or call a pro to tweak the safety sensors. A quick adjustment keeps the door moving smoothly and protects your family.
These quick tips make it easier to set the garage door opener tracks, and that means your door will work seamlessly.
Let’s begin by putting together and securing the carriage tube for the garage door opener rails. Start by laying out all the components listed in the manual. Work through the instructions carefully, confirming that each section clicks together for a smooth operation.
Once the tube is complete, measure its overall length with a tape. It should exactly match the specifications in the manufacturer’s guide; this ensures that the door opens and closes without dragging or binding.
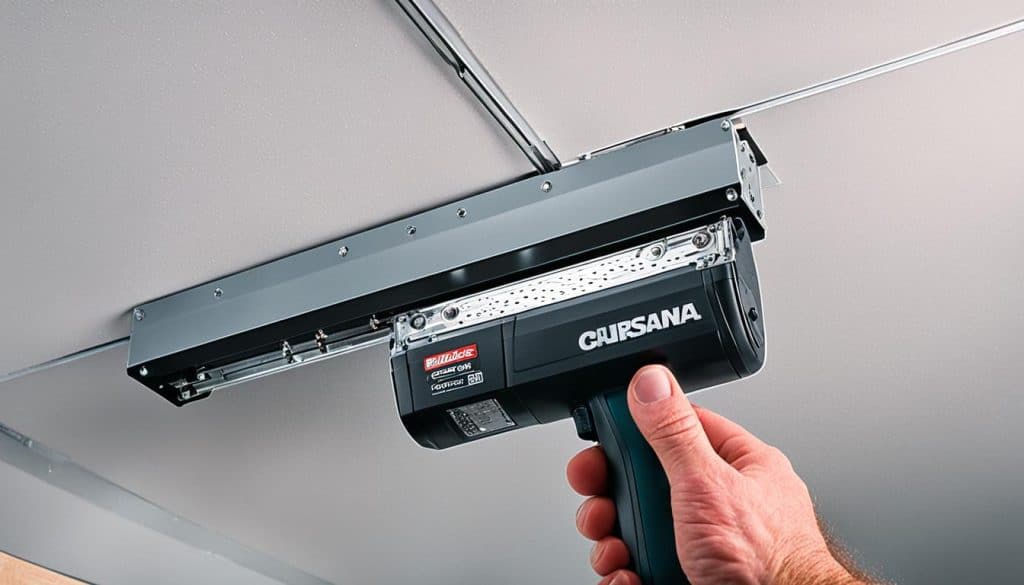
Next, attach the carriage tube to the front of the main power unit. Locate the pre-drilled guide holes in the unit and slide the tube into position. An extra set of hands is often helpful here, otherwise tape can be a good temporary stabilizer. Use the screws or bolts provided to lock the tube firmly in place; the power unit provides the main drive signal to the opener.
Finally, slide the rail clamps onto the carriage tube. These clamps bridge the tube to the brackets you mounted to the garage wall, creating a steady support for the rail length. Tighten the screws on the clamps with a socket or a wrench, tightening each of the rail clamps to the point where the connection is snug but without distorting the tube. A secure connection here is key for smooth opener operation.

Let’s get those garage door opener rails on and ready to go. Start by installing the header bracket on the wall above the door. Height matters, so the bracket usually sits at the door’s midpoint, but check your door type to be sure.
To locate the bracket, open the door all the way. Use a level to make a straight line on the wall, and then mark the point. Now, add a second mark two inches above where the bracket’s bottom edge will go; this extra gap lets the opener run at its best.
Drill the wall where you marked and attach the header bracket using the right screws; refer to your manual. Make sure it’s level and really tight—this bracket takes a lot of pressure.
Next, slide the carriage tube into the bracket. This tube guides the door, so the fit has to be secure. Lock it into place the same way you locked the bracket.
After the tube is secured, connect the opener’s control box. Snap on the door arm and make sure to attach all safety features. If your kit has any extra rails or braces, attach those now, too. Finish the process by following the rest of the manual’s instructions to get the opener fully set up.
Once you’ve installed the rails for the garage door opener, the next steps are testing and troubleshooting. Solid testing guarantees the door works correctly and keeps everyone safe.
Start the opener without the door attached. Watch the trolley’s motion and listen for any strange noises. A smooth, quiet run shows the opener is ready. Any strange sounds could mean something is out of line and could need attention.
Now it’s time to reattach the garage door. Open and close it to see if it glides up and down easily. The door should move steadily, with no sudden stops or jerks. Check the door for straightness. If it’s rubbing against the rails or the garage floor, adjust it.
Every garage door should have working safety features, and the auto-reverse test is the most important. With the door about halfway down, place a small board or a cardboard under it. The door should stop and reverse. Always check this according to the manual to keep the test safe.
Keeping your garage door tracks in good shape is key. Inspect them every few months for cracks or bending. Don’t forget to grease all moving parts—hinges, rollers, and the rail itself—so your door opens and closes quietly. Address any worn parts right away to stop little issues from turning into big, costly repairs.
By giving your garage door a quick check and a little care every season, you keep it running safely and smoothly for years to come.
You’ve just wrapped up our step-by-step guide on garage door opener rails—nice job! With this information handy, the install or upgrade of your opener tracks should be just a little smoother, and your overhead door will keep running safely and efficiently. Just follow the instructions here, and replacing or setting up those rails will be no problem.
Always keep safety in your thoughts while working. If the project gets overwhelming, or something doesn’t look right, call in an expert. Emerald Garage Door Services is just a call away and can tackle any tracks you’re dealing with.
Thanks to this guide, your garage door should now glide open and shut with no fuss. We hope these tips help your door run cooler and last longer. If a question or concern pops up, reach out—our team is here to give you the top-notch help you deserve!

Garage door opener rails are the long metal tracks that guide the door motor’s trolley. These rails keep the door aligned as it glides up and down.
They direct the movement of the garage door and keep it from wobbling or getting off track. Without rails, the door could jump or fall, creating a safety risk.
You can, but hiring a pro is a safer choice. A technician can install the rails quickly and check the motor and safety features, too.
Select rails based on the door’s weight, the type of opener, and the existing track shape. Compatibility is key for safe operation.
Rails can last many years with routine cleaning and lubrication. Watch for rust or bends, though—these can signal that a replacement is needed.
You’ll need a power drill, a set of wrenches, a screwdriver, a level, a tape measure, and a sturdy ladder for safety.
Costs vary based on rail type, door size, and the technician’s rates. Request quotes from a few locals for the best price.