
Signs You Need to Replace Your Garage Door Cable
The cables in your garage door are key for its smooth operation. As they age, they can wear out and cause issues. Knowing when to replace them is vital for your door’s safety and function.
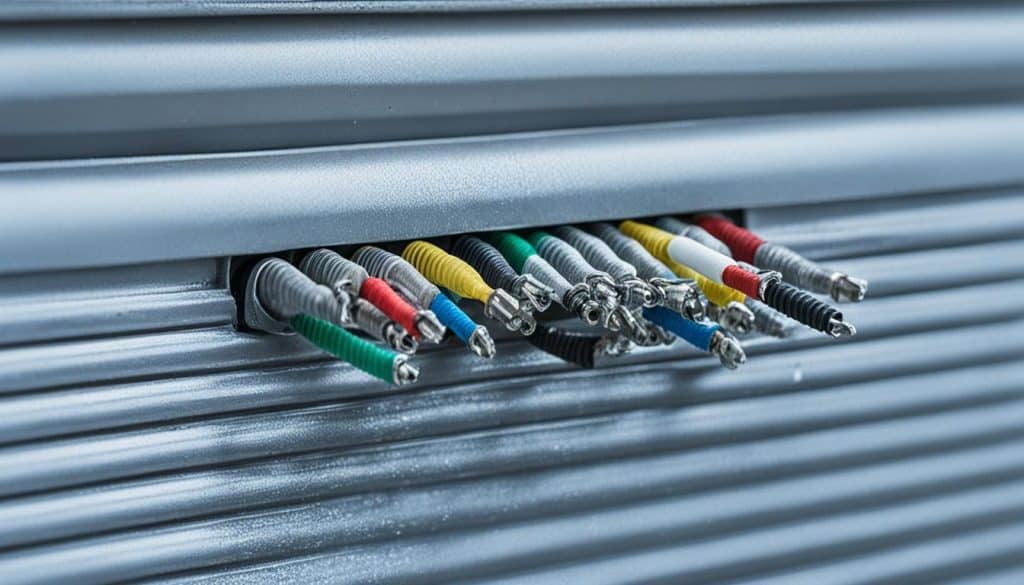
Seeing frayed or worn cables is a clear sign. Older cables can start to break down. This makes them weaker and poses a safety risk.
If your door jerks or doesn’t move smoothly, it might be the cable. A failing cable can cause the door to move abnormally. This can further damage the door if not fixed.
A door that’s not level is another sign of a bad cable. A damaged cable can’t support the door properly. Getting the cable fixed will help your door work right again.
Hearing strange noises from your door also means the cable could be in trouble. Squeaks, grinds, or pops are bad signs. They could point to a cable that needs immediate attention.
Don’t wait if you see any of these signs. Getting a professional to replace your cable is important. It’ll keep your garage door safe and working well. This prevents big accidents and damages.
Types of Garage Door Cables Replacement
Garage doors use two main types of cables: torsion and extension. These play a big part in making sure your door opens and closes well.
Torsion cables are for heavier doors. They connect to a big spring and help lift the door smoothly and safely.
For lighter doors, there are extension cables. They pull and let go of the springs as the door moves.
Understanding Torsion Cables
Torsion cables are strong, made of materials like steel. They are thicker and tougher than extension cables.
They sit at the sides of the door and go around a drum. They work with the torsion springs at the top of the door.
These parts make sure the door moves evenly and stays under control.
Understanding Extension Cables
Extension cables work with lighter doors. They attach to springs and help open and close the door.
These cables don’t twist around a drum. They go through pulleys and are fixed at the door’s bottom. This setup makes sure the door moves smoothly.
Knowing the right cable for your door is important. It helps you pick the right one when you need a replacement. This keeps your garage door working well.
Preparing for Garage Door Cable Replacement
Before you start, make sure you have all the tools you need. This will help make the replacement process go smoothly. It’s key to have the proper tools and follow safety guidelines when fixing your garage door.
First, find the right cable that fits your garage door. This is important for your door to work well. You’ll also need pliers and a wrench to switch out the cables.
Keeping safe is vital when working on your garage door. Put on safety glasses. You might need a ladder to reach high up places on your door.
Garage door cable work can be heavy. It’s a good idea to have someone help you. This not only makes the job easier but also safer.
To stay safe while working, wear safety gear. Be careful of sharp tools. Always be sure the door is turned off so it won’t move when you’re working on it.
By being prepared with the right tools and focusing on safety, the job will go well. Make sure to avoid any accidents as you replace your garage door cables.
Replacing Your Garage Door Cable: Step-by-Step Guide
Replacing a garage door cable can look challenging. But with the right tools and guide, it’s doable. Follow our easy step-by-step advice on garage door cable replacement:
Gather the Necessary Tools
Before starting, ensure you’ve got all the tools you need. These include the replacement cable, pliers, wrench, safety glasses, a ladder or step stool, and someone to help. This is essential for heavy doors.
Preparation and Safety
Safety is key during the replacement. Wear safety glasses and gloves. Make sure the garage door is shut and not connected to power. Safety first!
Removing the Old Cable
First, find the drum on the problem side of the garage door. Use a wrench to loosen the set screws on the drum. Then, you can take out the old cable.
Attaching the New Cable
Next, put the new cable through the door’s bottom bracket. Pull it up to the drum and wind it around. Use pliers to secure the cable tightly.
Tightening and Securing the Cable
With the cable in place, tighten the set screws using the wrench. Make sure the cable is put on the drum evenly. Test the door to check for smooth movement.
Testing the Door
After the installation, plug the power back and test the door. It should open and close neatly. If there are any problems, review the cable’s setup or call a pro.
Swapping your garage door cable might take a bit of time and work. But, by following our advice carefully, you should do just fine. Always keep safety in mind and don’t hesitate to get help if you need it.
Other Garage Door Cable Maintenance Tips
Regular care is key to make your garage door cables last longer. Use a good garage door lubricant. This stops rust and wear, keeping your door running smoothly and quietly.
It’s vital to check the cables and parts often. Watch out for signs like fraying or breaks. Catching these problems early can save you from costly fixes later.
Don’t treat your garage as a place to play or store heavy items. This can damage the cables and other parts. Always handle your garage door with care and only use it as it’s meant to be used.

FAQ
What are the signs that indicate it’s time to replace my garage door cable?
Watch for fraying or wear on the cable. If the door jerks, stalls, or looks crooked, it’s a sign. Also, listen for odd noises from the door.
What are the two main types of garage door cables?
There are two main types: torsion and extension cables. Torsion cables are for heavy doors with springs. Extension cables work on lighter doors with different springs.
What tools and equipment do I need to prepare for garage door cable replacement?
To replace the cable, you’ll need the right cable size, pliers, and a wrench. Don’t forget safety glasses, a ladder, or step stool. Having someone help is a good idea. Safety is very important during this process.
Can you provide a step-by-step guide for replacing my garage door cable?
Sure! Here’s a step-by-step guide to replace your garage door cable:
What other maintenance tips should I follow for my garage door cable?
After replacing the cable, keep up with maintenance. Lubricate the cables and moving parts often. Check for wear and tear regularly. Avoid overloading the door to prevent damage to the cable and other parts.