Orlando Garage Door Services
1(407) 788-1229
Volusia Garage Door Services
1(386) 236-9100
1(407) 788-1229
1(386) 236-9100
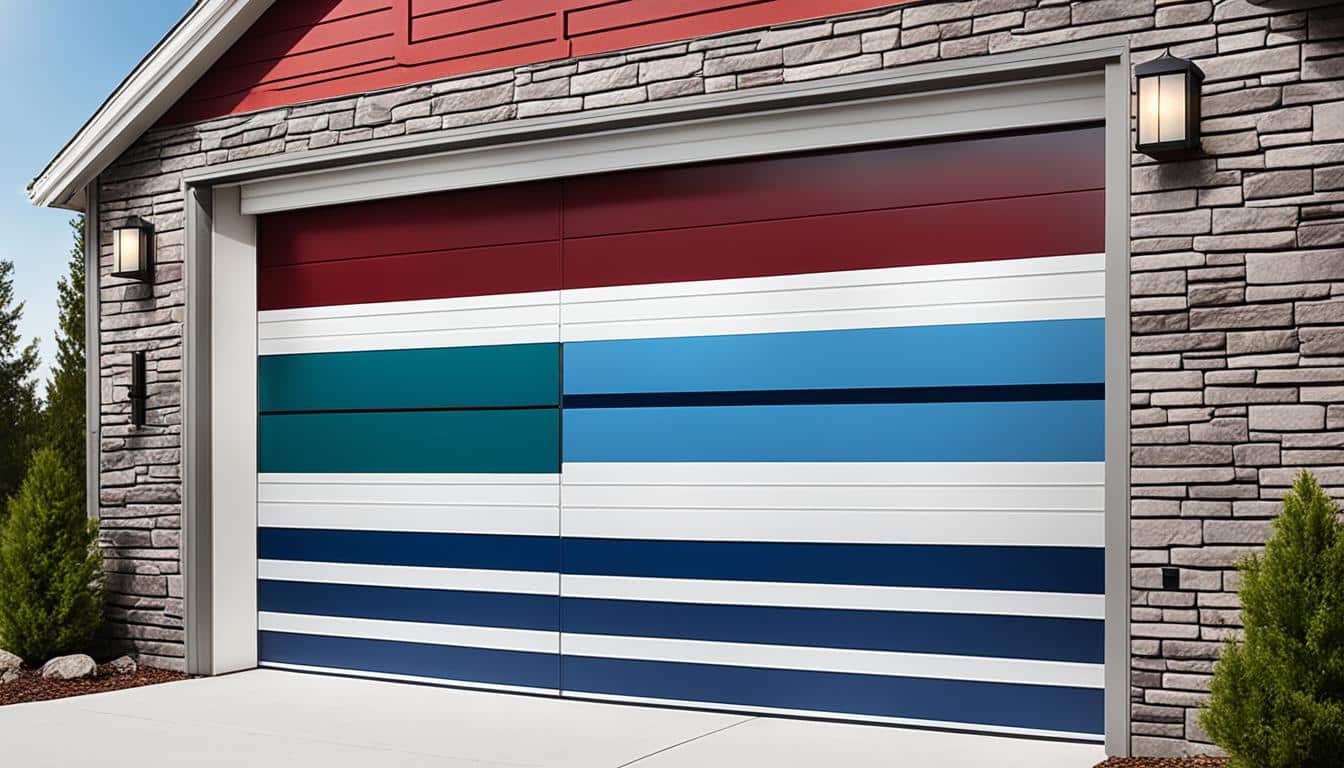
Does the panel on your garage door have scratches, dents, or discoloration that drags down the curb appeal of your home? Sometimes even small incidents, harsh weather, or simply years of frequent use leave their mark, creating more than just a visual distraction. A damaged door panel can also throw off the whole operation of your door.
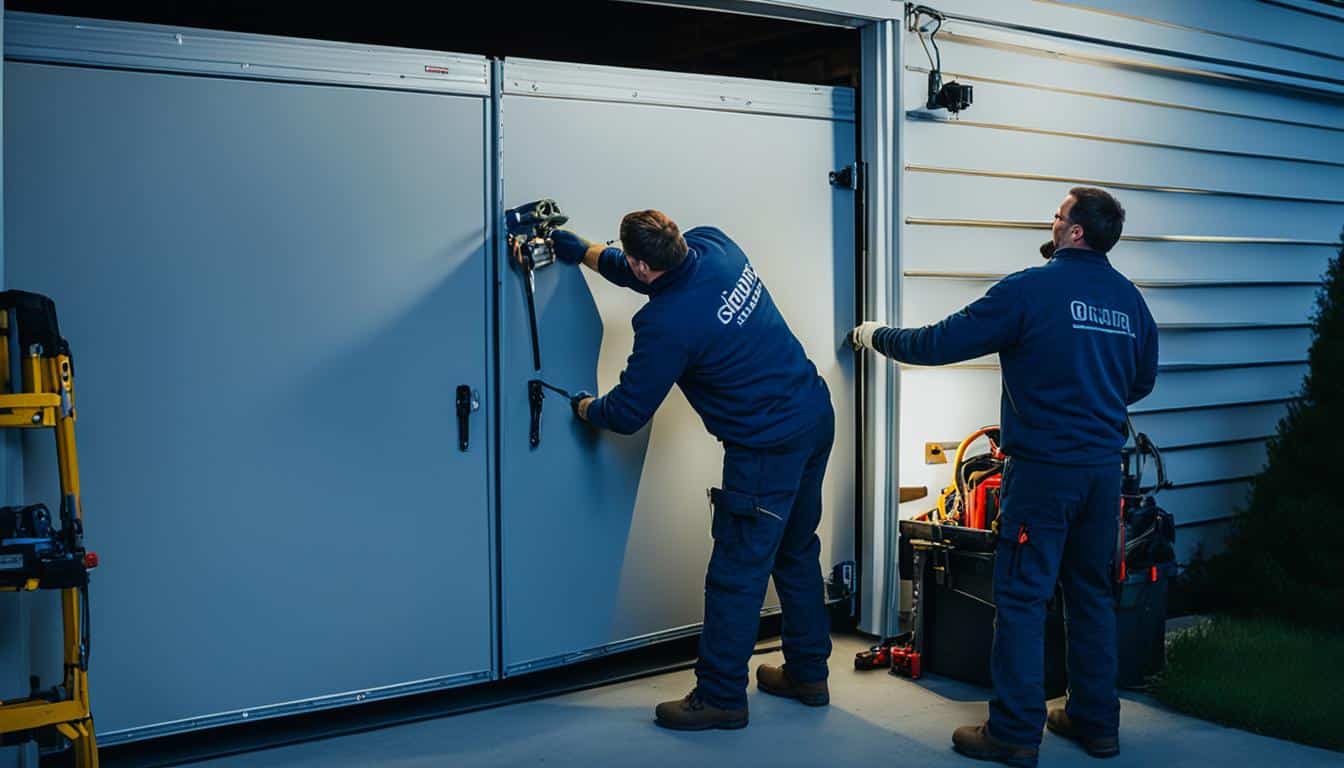
At Emerald Garage Door Services, we specialize in panel replacement to restore both the function and the appearance of your garage door. First, we’ll walk you through the quick steps to cut power and secure the door so it stays put. Next comes panel removal—we’ll give you tips to detach the affected section and slide the new panel into position. We stick with an easy, step-by-step method so you finish the job safely and confidently.
Don’t let your garage door’s looks ruin your home’s beauty. Take charge and fix your garage door to look and work better than before.

Before you start, make sure you have everything you need. This will make replacing the garage door panel easy. Here’s what you’ll need:
With these tools and materials, replacing a garage door panel is easy. You’ll be ready for any panel size or type. Now, let’s go through the steps to replace the panel.

We’re ready to start! You have all the tools and materials you need. I’ll guide you through replacing your garage door panel. Just follow these steps for a smooth process:
When working on your garage door, safety is key. Follow these important safety tips:
Putting in new garage door panels is a big deal, so you want them to last. Keeping them in top shape is easier than you might think. Check out these simple maintenance steps.
Dirt, bugs, and grime might make your panels look tired before their time. A quick wash can change that. Mix a cup of dish soap in a bucket of warm water. Grab a microfiber cloth—or a soft sponge will work— and wipe one panel at a time. Rinse with a garden hose set to a gentle spray. A wash every couple of months will make the door shine.
The moving parts of your garage door can grind against each other day after day, and eventually that friction can lead to problems. You can prevent headaches down the road by spraying an easy-to-use silicone-based lubricant. A quick coat of silicone grease cuts down the rubbing, makes the hinges and rollers glide like new, and helps the door panels last longer. That little bit of preventative care means your door will need fewer repairs in the future, saving you time and cash.
Don’t wait for a big bang to check your door. Every month, do a once-over for tiny cracks, bent panels, or paint chips. A little chip can lead to bigger water stains. Touch up paint or upgrade weatherstripping whenever you spot the damage, and you’ll avoid costly repairs later.
Stop drafts before they reach the door. Adding weatherstripping around the top and sides can lower your heating bill in the winter and keep the garage cooler in the summer. Apply a bead of exterior-grade silicone or garage door sealant where the panels meet the frame for extra protection, too. This simple upgrade will help your energy bill and extend the life of the new panels you just installed.
Changing out a garage door panel is a job many homeowners can tackle. Stick with the step-by-step guide and safety reminders shown here, and you’ll have a door that looks brand-new and operates perfectly without calling in the pros.
Would you rather leave it to the experts? Companies like Emerald Garage Door Services provide fast and dependable panel replacement. Their team ensures the job runs like clockwork, giving you peace of mind.
Keep safety at the top of your list. Measure twice, check everything, and consider every option you have before picking up a tool. Proper care of each panel will keep your garage door going strong for years.

Start with the basics: a ladder, hammer, and vise clamps. You’ll also need a ratcheting nut driver, a power drill, and various drill bits. Grab gloves and knee pads for comfort, some scrap boards to protect the floor, and the new panel that fits your door’s design.
Absolutely! First, raise the garage door and unplug the opener to cut power. Carefully release the tension springs, then lower the door until it’s flat. Secure it with clamps. Next, remove the bolts from the panel at the bottom.
Use a temporary brace to support the remaining panels while the bottom one is being swapped. With the brace holding it, slide the old panel out. Position the new panel in, attach the hinges and optional handle, and slide in the bolts. Lift the door to the original height, reconnect the springs carefully, and paint any scratched areas to match the rest of the door.
Certainly, here are the humanized versions of the prompts provided, edited for tone and clarity:
Before you swap out those garage door panels, safety comes first. First, unplug the garage door opener or pull the emergency release cord so the door won’t move. Throw on safety glasses, gloves, and sturdy shoes. When you lift the panels, use two hands and have a friend help balance. Clamp loose panels into place so they won’t slip, and always keep your fingers clear of hinges and tracks. Finally, remember those panels can be heavier than they look, so lift with your legs, not your back.
Keep your new garage door panels looking sharp and working well with a bit of regular TLC. Wipe them down with mild soap and water a few times a year and spray lubricant on the tracks and rollers every six months. Scan them for dents, cracks, or loose seals and fix those right away. Finally, check the weather strip on the bottom edge and replace it if it’s brittle or ripped. A little upkeep now will save you money later.
Swapping garage door panels is a DIY job many homeowners can handle, especially with the right tools and a buddy to help. But if the door is older, a unique style, or if you just don’t have the time, calling in a pro like Emerald Garage Door Services is a smart move. They have the experience to do it right the first time, ensuring your door operates smoothly for years to come.