
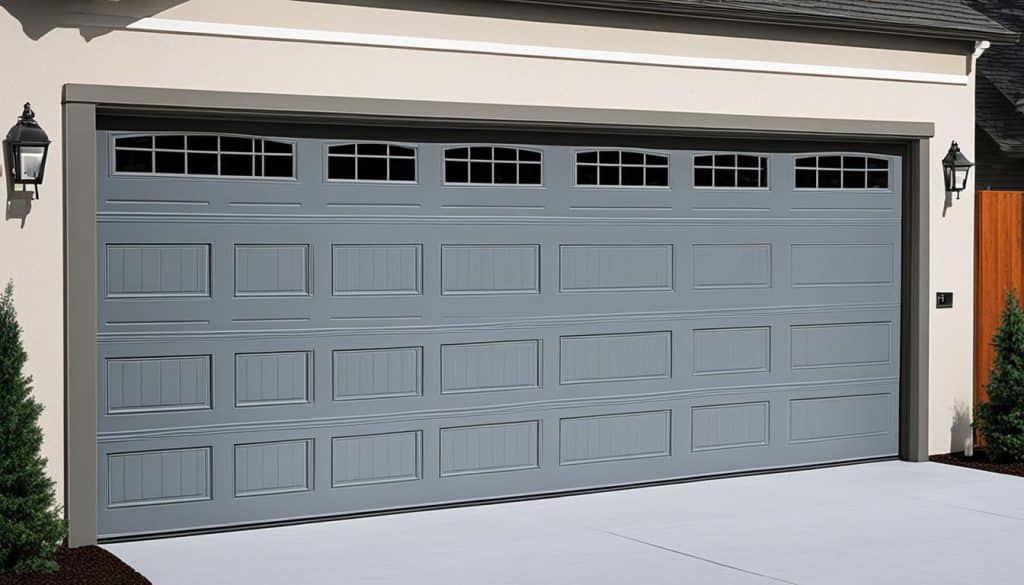
Tools and Preparation
Before you start, make sure you have everything you need to insulate your garage door. The right tools and materials are essential for a successful DIY project. They will help protect your garage door from the weather.
Here are the tools and materials you’ll need:
- Insulation panels
- Double-sided tape
- Retainer clips
- Measuring tape
- Utility knife
- Gloves
- Safety glasses
First, clean the garage door well. Remove any dust or dirt. The door must be dry and clean for the insulation to stick properly.
Wear gloves and safety glasses. This is important to avoid skin or eye problems. With the right tools and care, your DIY project will go smoothly. You’ll soon have a weatherproof garage door that looks great.
Installing the Insulate a Garage Door
After preparing your garage door and gathering tools, start adding the insulation. This step is key for better insulation and controlling the garage’s temperature. Here’s how to do it right:
Step 1: Mark the Door Panels
To know where to add insulation, first mark the door panels. This ensures you cover all necessary areas accurately. Use a marker or tape to show where the insulation goes.
Step 2: Attach Retainer Clips
Then, use double-sided tape to fix the retainer clips to these marked spots. These clips prevent insulation from moving out of place. It’s vital to ensure these clips are firmly attached for stable insulation.
Step 3: Measure and Cut Insulation
Measure each door panel separately, as they might differ in size. Cut the insulation slightly larger to fit snugly. A good fit is key for maximum insulation effect. Trim any extra insulation for a tidy job.
Step 4: Tuck Insulation into Door Panels
Fit the insulation into the panels, placing the vinyl side outward. This step improves thermal isolation and blocks outside temperature changes. If your panels have reflective barriers, make sure the reflective side faces outward.
Step 5: Secure with Retention Clips
Lastly, make sure the insulation stays in place by securing it with retention clips. Push the insulation against the door while clipping them in. A snug and secure fit prevents heat loss efficiently.
By completing these steps, your garage door will have better thermal insulation. This leads to higher energy efficiency. It keeps your garage comfortable, reduces energy bills, and makes it quieter.
Additional Tips and Considerations
When insulating your garage door for a DIY project, keep a few things in mind. These tips can make your work better at saving energy, controlling temperature, and reducing noise.
Add a 3/4″ gap between the door and the insulation. This gap boosts the insulation’s power by acting as an extra shield against temperature changes. Stick the insulation panels to the door’s outer edge to make this gap or use foam spacers.
Foam spacers serve two purposes. They make sure there’s a gap and they help the insulation work better. They also ease the pressure on the garage door springs. This keeps the door working smoothly, saves energy, and reduces noise.
Choose lightweight insulation that’s easy to put in. Look for materials that are light but yet do a good job. This way, you won’t strain your garage door while making it better insulated.
If you live in a warm place, go for reflective insulation. It keeps the heat out, making your garage cooler. This means you’ll use less energy for cooling. It makes your garage a more pleasant place to be.
Testing the Fit
Before you attach the insulation panels for good, test their fit. Make sure they align well with the door and seal any gaps. Testing them now helps you know if you need to do any cutting or adjusting.
Following these tips will help you get the most out of your DIY project. You’ll see big improvements in energy efficiency, climate control, and noise levels in the garage. Your space will be more comfortable and useful.
Conclusion
Adding insulation to your garage door is a smart choice. It makes your garage more energy efficient. It also keeps temperatures steady and reduces noise.
With the right insulation, you can make your garage more comfortable. You can turn it into a nicer, more useful space.
There are different ways to insulate your garage door. You can buy a DIY kit or get materials yourself. Doing this project can save you money in the long run.
It keeps your garage cool in summer and warm in winter. It also makes it quieter by blocking outside noise.
If you need help, think about Emerald Garage Door Services. They offer professional services in Orlando, FL, and nearby. They know how to insulate your garage door the right way.
Insulating your garage door is a good investment. You’ll enjoy better energy use, stable temperatures, and less noise for years to come.

FAQ
What is the R-value and why is it important for garage door insulation?
The R-value shows how well insulation keeps your garage at a comfortable temperature. A higher R-value means better energy saving. It’s important to pick the right insulation for comfort and to save money.
What R-value is recommended for different types of garages?
For unheated garages, R-values between 0 to 6 are good. If your garage is attached and not heated, choose 7 to 9. For heated garages, go for 10 to 13. And for garages with living spaces above, pick an R-value of 14 or more.
What type of insulation is suitable for wooden frame-and-panel garage doors?
Foam board insulation is best for wooden garage doors.
What type of insulation is suitable for metal garage doors?
Fiberglass insulation batts are great for metal garage doors.
Are there DIY garage door insulation kits available?
Yes, there are DIY kits for insulating your garage door. They come with pre-cut insulation for easy installation.
What tools and materials are needed to insulate a garage door?
You’ll need insulation panels, double-sided tape, retainer clips, a measuring tape, a utility knife, gloves, and safety glasses.
How should I prepare the garage door before starting the insulation process?
First, clean the door to remove dust or dirt. Make sure it’s dry and free of old insulation.
How do I install the insulation on the garage door panels?
Start by marking where each insulation piece will go. Use double-sided tape to stick the retainer clips at the marked spots.
Measure each panel and cut the insulation a bit bigger. Place and secure the insulation into the panels.
Should I leave a gap between the door and the insulation panels?
Yes, leave a 3/4″ gap between the door and insulation. This gap helps keep the right temperature inside. Use foam spacers or stick the insulation to the outside of the doors to handle this gap.
What additional tips should I consider when insulating a garage door?
Choose lightweight insulation to avoid too much weight on the garage door. Reflective insulation is good in hot places. Make sure insulation fits well before fixing it to the door to prevent air leaks.